How To Build A Gaming Pc For Beginners
How to Build a Gaming PC for Beginners: A Step-by-Step Guide
Building your own gaming PC is not only a rewarding project but also a way to get the best performance for your budget. If you’re a beginner, the process might seem daunting, but with the right guidance, you can assemble a powerful machine tailored to your gaming needs. This guide will walk you through the essential steps to build your first gaming PC.
Introduction to Building a Gaming PC
Starting your journey in the world of PC gaming can be exciting yet overwhelming. Unlike purchasing a laptop or a gaming laptop, building a gaming PC gives you the flexibility to choose each component according to your preferences and budget. Whether you’re looking to play the latest AAA titles or want a machine for streaming and content creation, building your PC ensures you have the right tools for the job.
Step 1: Selecting Your Components
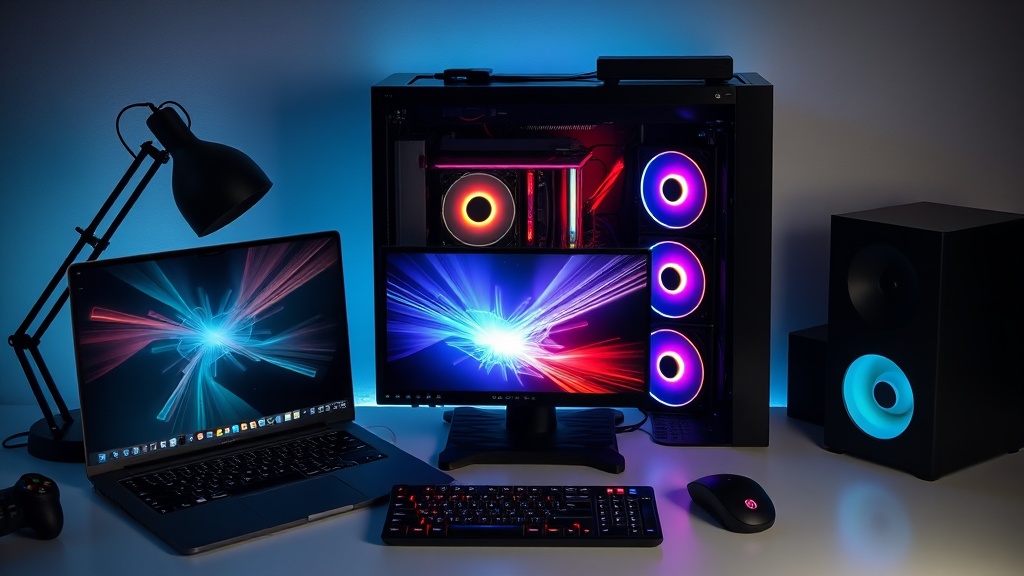
The first step in building a gaming PC is selecting the right components. This includes the CPU, GPU, RAM, storage, motherboard, power supply, and case. Each part plays a critical role in your PC’s performance.
- CPU: The processor is the brain of your PC. Choose one that balances performance and cost. For gaming, a mid-range CPU is often sufficient.
- GPU: The graphics card handles visual output and is crucial for gaming. Look for a card that can handle the games you plan to play at your desired resolution.
- RAM: For most games, 16GB of RAM is ideal. This ensures smooth performance and quick loading times.
- Storage: Consider an SSD for faster load times. An external SSD can also be a good option for additional space.
- Motherboard: Ensure compatibility with your CPU and RAM. Look for features like Wi-Fi and multiple USB ports.
- Power Supply: A reliable power supply is crucial. Make sure it provides enough wattage for your components.
- Case: Choose a case that fits your components and has good airflow. It should also match your aesthetic preferences.
Step 2: Setting Up Your Workstation
Before you begin assembling your PC, set up a clean and organized workstation. Gather all your tools, including screwdrivers, and anti-static wristbands to prevent any damage from static electricity. Make sure you have a spacious area to work in and plenty of light.
Step 3: Assembling the PC
Now that you have all the components and your workstation is ready, it’s time to start building.
- Install the CPU: Carefully insert the CPU into the motherboard socket. Follow the instructions provided with your motherboard for proper installation.
- Attach the Cooler: Secure the CPU cooler on top of the processor to prevent overheating.
- Install RAM: Insert the RAM sticks into the motherboard slots. Make sure they are fully seated and locked in place.
- Mount the Motherboard: Place the motherboard inside the case and secure it using screws. Ensure all I/O ports are accessible.
- Install the GPU: Insert the graphics card into the PCIe slot and secure it with screws.
- Connect Storage: Mount your SSD or HDD in the case and connect it to the motherboard using SATA cables.
- Connect Power Supply: Mount the power supply and connect all necessary power cables to the motherboard, GPU, and storage devices.
Step 4: Connecting Peripherals
Once your PC is assembled, it’s time to connect peripherals like a monitor, keyboard, and mouse. For an immersive gaming experience, consider a high-quality 4K monitor and a responsive mechanical keyboard.
Step 5: Installing the Operating System and Software
With your hardware set up, it’s time to install the operating system. Most gamers opt for Windows due to its vast library of compatible games. Once installed, don’t forget to download drivers for your GPU and other components. Protect your new system with reliable antivirus software and consider using a VPN for secure online gaming.
Conclusion: Enjoying Your Custom Gaming PC
Congratulations! You’ve successfully built your first gaming PC. This machine is not only a testament to your hard work but also a powerful tool for gaming, content creation, and more. Remember, building a PC is a continuous journey. As new components are released and your needs evolve, you can upgrade parts to keep your PC at peak performance.
Whether you’re exploring new worlds in your favorite games or working on creative projects, your custom-built gaming PC is ready to handle the challenge. Enjoy the experience and the satisfaction that comes with knowing you built it from the ground up!
Happy gaming!