Cable Management and Desk Organization That Actually Lasts
Cable Management and Desk Organization That Actually Lasts
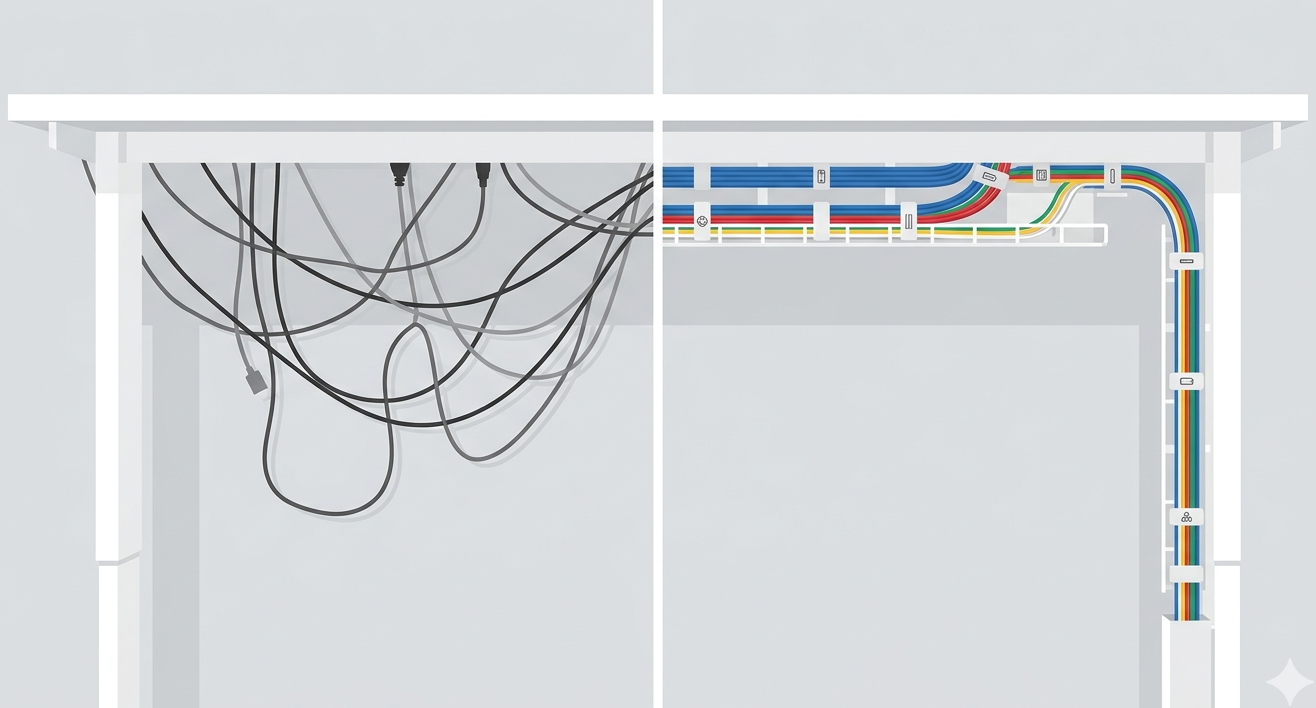
Cable management is the least exciting part of setting up a home office and the part that creates the most daily friction when neglected. Tangled cables look bad, make it harder to add or remove devices, create tripping hazards, and collect dust. A clean cable setup takes 45 minutes and costs $30-$50 — and it transforms the feeling of your workspace disproportionately.
Cable management is a key step in our complete home office setup guide. This article provides the detailed how-to.
The Three-Component System
After testing various approaches over multiple office setups, the most reliable and maintainable system uses exactly three components. An under-desk cable tray — a mesh or J-channel tray that mounts beneath the desk surface and catches cables running horizontally. This keeps cables off the floor and out of sight. Available for $12-$25. Velcro cable ties — reusable fabric ties that bundle cables together. Not zip ties — velcro can be opened, rearranged, and reused when your setup changes. A pack of 50-100 costs $5-$8. A power strip with mounting holes — mount the power strip to the underside or back of the desk using screws or strong adhesive strips. This moves the plug cluster off the floor and into the cable tray, eliminating the single messiest element of most desk setups. $15-$25 for a quality surge protector.
Total investment: $30-$50 and 45 minutes of your time. The return is a permanently clean desk surface and zero cable frustration for the life of your setup.
Step-by-Step Setup
Step 1: Disconnect everything. Take a photo of your current setup first if you are worried about remembering what plugs where. Unplug all cables from your computer, monitor, and peripherals.
Step 2: Mount the cable tray. Attach the under-desk tray using the included screws or adhesive mounting. Position it toward the back of the desk, centered roughly where your cables will run. The tray should be at least 2-3 inches below the desk surface to leave room for cables.
Step 3: Mount the power strip. Attach it inside the cable tray or on the back edge of the desk. Route the single power cord from the strip down to the wall outlet — this is the only cable that should touch the floor.
Step 4: Route power cables. Plug each device’s power cable into the strip and route the cable through the tray to its destination. Use velcro ties to bundle cables that run the same direction.
Step 5: Route data cables. Monitor cables (HDMI, DisplayPort, USB-C), USB hubs, and peripheral cables get routed through the same tray. Keep power and data cables loosely separated (not tightly bundled together) to prevent potential electromagnetic interference.
Step 6: Label. Use small labels, colored tape, or a label maker on each cable where it enters the tray. This takes 5 extra minutes and saves hours of tracing cables when you need to change something later.
Wireless vs. Wired
Reducing the number of cables is the simplest cable management strategy. Modern wireless peripherals have eliminated the latency and reliability concerns that once made wired connections necessary for productivity use.
Good candidates for wireless: keyboard and mouse (Bluetooth or 2.4GHz dongle — both are reliable for office use), headphones (Bluetooth with ANC), phone charging (wireless charging pad built into or placed on the desk). Keep wired: monitor connections (wireless display protocols introduce latency and reduce quality), ethernet (if your Wi-Fi is unreliable and you need stable connectivity for calls), and USB hubs (for connecting multiple peripherals through a single cable).
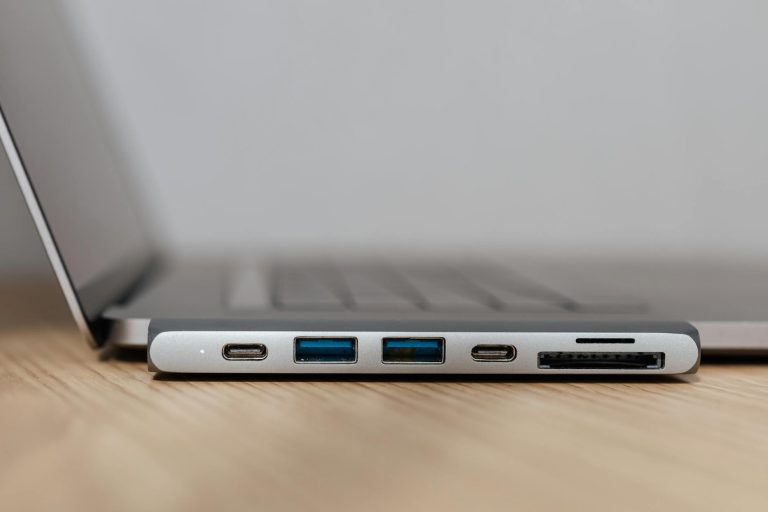
A USB-C dock or hub is the single most effective cable reducer. One cable from your laptop to the dock handles power delivery, monitor output, keyboard, mouse, webcam, and external storage. When you need to take your laptop elsewhere, you disconnect one cable instead of five.
Browse Cable Management Kits
Under-desk trays, velcro ties, and adhesive clips. Everything for a clean setup.
Maintaining Organization
The system only works if it survives real-life changes — adding a new monitor, swapping a keyboard, rearranging your desk. The key principles for long-term maintenance: leave 20% slack in every cable run (tight cables pull loose when you move things), leave empty space in the cable tray for future additions, do a 5-minute “cable audit” every 3 months (remove anything unplugged, retighten loose bundles), and when adding new devices, take the extra 2 minutes to route through the tray rather than leaving it dangling temporarily. Temporary always becomes permanent.
For the complete home office setup guide including chair, desk, and peripherals, see our complete home office setup guide.
Ryan Nakamura is a software engineer with 12 years of experience at Fortune 500 tech companies. He specializes in productivity hardware, ergonomic setups, and developer tools.
Last reviewed: March 2026
Disclaimer: Product recommendations are based on independent research and hands-on testing. We are not sponsored by any manufacturer. Prices and availability may change.